
Remove Glare
Remove glare and reflections from glasses, windows, screens and shiny skin in one upload. Your first image is free, no sign-up.
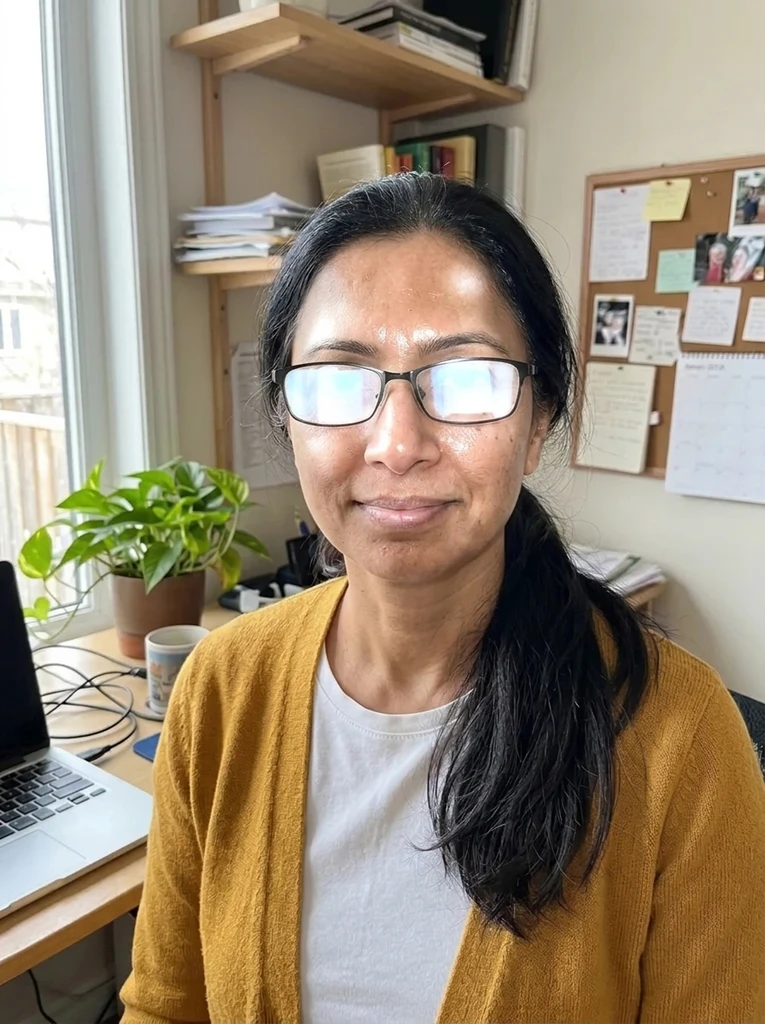 Before
 After
Example result. Upload your photo to make yours.
When you need to remove glare from a photo
Each kind of glare has its own preset, so pick the one that matches the source.
Glasses in portraits
A ring light or flash can turn a lens into a white disc over the eyes. The Glasses Glare preset can remove glare from the lenses and aims to keep the frames. Useful for headshots and profile photos.
Shots through a window or glass
Museum cases, shop windows, car windows and picture frames add your own reflection to the scene. Window & Glass is for photos taken through a pane.
Screens and glossy prints
A photo of a monitor, a document or a printed picture often carries a bright streak from the room lights. Screen & Print is made for that, for example when you copy old family prints with a camera.
Shiny skin and flash hot spots
Oily foreheads and flash on the nose or cheeks leave white patches. Shiny Skin tones them down while the rest of the face is meant to stay as it is.
Mixed or unclear glare
When a photo has a window reflection and a flash spot at once, use Auto and say in the note where each one is.
Why it is hard to remove glare from a photo
Glare does not sit on top of the picture. Where the light blew out, the pixels are white and the detail behind them was never recorded. So removing glare here means redrawing: the AI looks at the area around the glare and paints what most likely belongs there.
A thin streak across a cheek is an easy guess. A lens filled with solid white is a bigger one, and the eyes behind it can come out slightly different from the real ones.
Pick a preset, then point at the glare in words
There is no brush on this tool. You choose one of five presets and can add a note of up to 500 characters, such as "the reflection on the left lens" or "the white streak on the print".
The note is added to your request, so name the spot and the surface. The more specific it is, the less the tool has to guess about what to clean up.
Before you remove glare
- Start from the original photo in JPG, PNG or WebP, up to 10 MB, not a screenshot of it.
- Pick the preset that matches the source: lenses, glass, screen or print, skin. Use Auto if the photo mixes them.
- Your first image is free, so choose the preset and write the note before you press the button.
- Name the spot in the note, for example "the bright circle on the right lens".
- Expect more guesswork where glare covers a whole lens or a large area, and less where it is a small spot.
- After the result appears, compare it with your original: eyes, small text, jewelry and frame edges.
- Then download the image. The free allowance is used, so there is no second run.